

drywall installation guide pdf
Drywall installation is a fundamental aspect of modern construction, offering a smooth, durable finish for walls, ceilings, and partitions. It is widely used due to its fire-resistance, soundproofing capabilities, and ease of installation, making it a popular choice for both residential and commercial projects.
1.1. Overview of Drywall and Its Importance
Drywall, also known as gypsum board, is a lightweight, cost-effective material used for constructing walls, ceilings, and partitions. Its importance lies in providing a smooth, durable surface that enhances fire-resistance, soundproofing, and insulation. Widely adopted in modern construction, drywall streamlines the installation process, offering versatility and aesthetic appeal for residential and commercial spaces.
1.2. Benefits of Using Drywall in Construction
Drywall offers numerous benefits, including fire-resistance, soundproofing, and insulation, making it a versatile choice for modern construction. Its lightweight nature simplifies installation, while its smooth finish enhances aesthetics. Cost-effective and durable, drywall is ideal for residential and commercial projects, providing a seamless surface for painting and finishing, and its ease of repair adds to its practicality and popularity in building design.
Tools and Materials Needed for Drywall Installation
Essential tools include utility knives, T-squares, drywall saws, drills, and screwdrivers. Materials required are drywall sheets, screws, joint compound, tape, and drywall anchors for secure installation.
2.1. Essential Tools: Utility Knife, T-Square, Drywall Saw, Drill, and More
A utility knife and T-square are crucial for precise cutting and aligning drywall sheets. A drywall saw is necessary for curved cuts, while a drill and screwdriver handle screw placement. Measuring tapes, pencils, and safety gear like gloves and goggles are also essential. These tools ensure accurate cuts, proper alignment, and safe installation of drywall panels in various projects.
2.2. Materials: Drywall Sheets, Screws, Tape, Joint Compound, and Anchors
Accurately measure walls and ceilings using a measuring tape to determine the length and width. Measure each wall and ceiling separately, noting any irregularities. Calculate the square footage for each area to estimate drywall needs. Add 10% to the total for waste and cuts, ensuring sufficient material for the project. This step is crucial for precise material estimation and efficient installation.
Measuring and Calculating Drywall Requirements
Measure walls and ceilings to calculate square footage, ensuring accurate material estimation. Add 10% for waste and cuts, optimizing efficiency and minimizing delays during installation.
3.1; How to Measure Walls and Ceilings for Drywall
Measure each wall and ceiling separately, noting length and width. Record measurements on a diagram, marking door and window openings. Calculate square footage by multiplying length and width for each section, then summing them. Subtract square footage of large openings, ignoring small ones like electrical outlets. Add 10% to the total for waste. Use standard sheet sizes (4×8 or 4×12 feet) to determine the number of sheets needed. Consider using a drywall calculator for accuracy. Ensure measurements are precise to avoid material shortages or excess, and keep track of everything with a detailed diagram or template.
3.2. Calculating Square Footage and Determining the Number of Sheets Needed
Measure each wall and ceiling area separately, calculating square footage by multiplying length and width. Sum all areas, subtracting large openings. Add 10% to account for waste. Divide the total by the square footage of a standard drywall sheet (e.g., 32 sq. ft. for 4×8 sheets) to determine the number of sheets needed. Use a drywall calculator for accuracy.
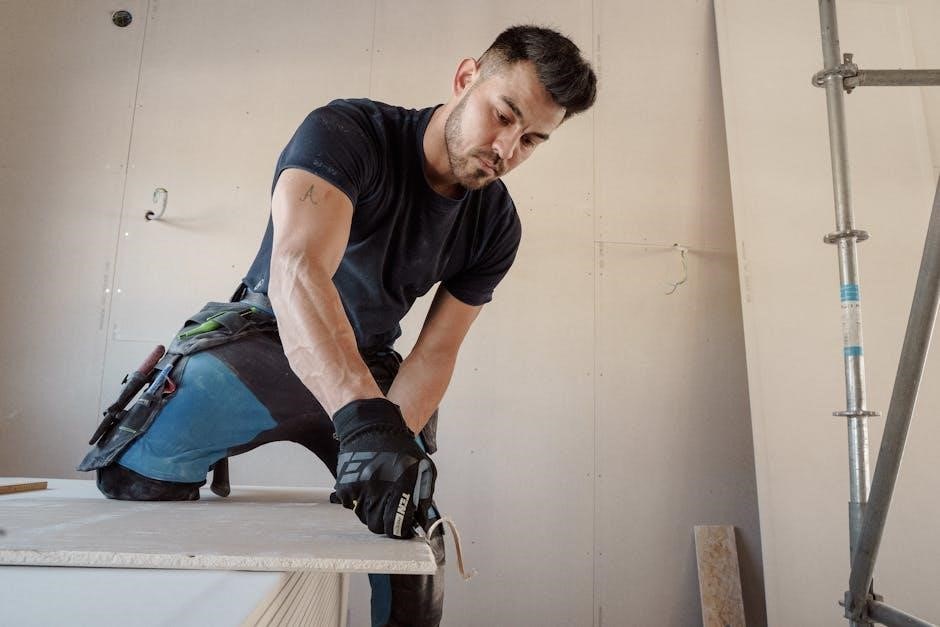
Cutting Drywall
Cutting drywall involves scoring the face paper with a utility knife, snapping the sheet, and cutting the backing paper. Use a drywall saw for irregular shapes. A T-square ensures straight cuts. Score deeply, break cleanly, and repeat for thicker sections. Sand edges for a smooth finish before installation.
4.1. Techniques for Cutting Drywall: Utility Knife vs. Drywall Saw
Cutting drywall can be done using a utility knife or a drywall saw. A utility knife is ideal for straight cuts, requiring multiple scoring passes and a clean snap. Use a T-square for accuracy. For irregular shapes or curved cuts, a drywall saw is more effective. Both methods ensure precise results, with sanding recommended for smooth edges before installation.
4.2. Cutting Openings for Doors, Windows, and Electrical Outlets
Accurately measure and mark openings for doors, windows, and outlets. Use a drywall saw for precise cuts around marked areas. For electrical outlets, trace the box outline and carefully cut along the lines. After cutting, smooth the edges with sandpaper to ensure a clean fit. This ensures proper installation and avoids damage to surrounding areas.
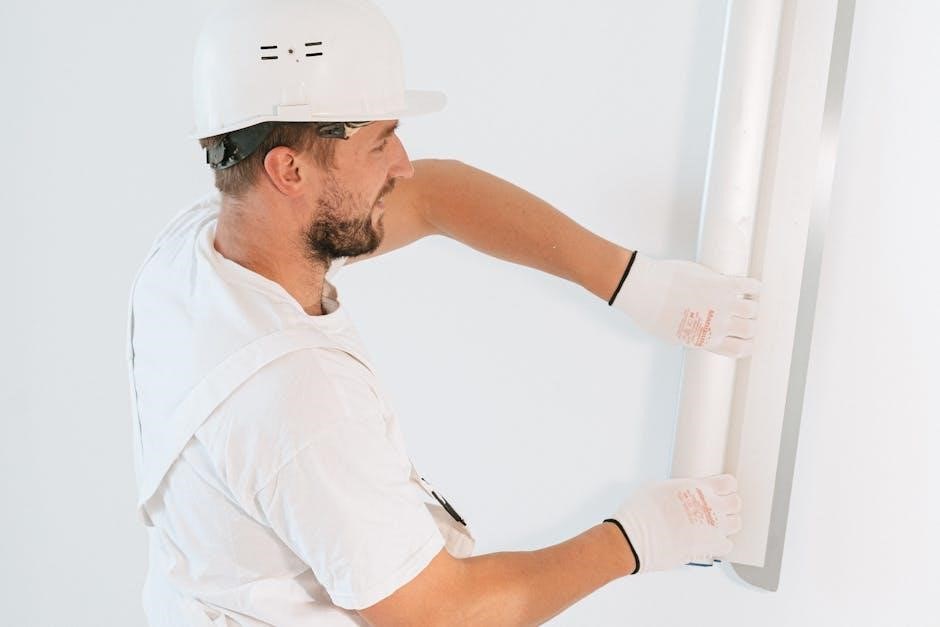
Installing Drywall
Attach drywall to framing using screws, ensuring proper spacing and alignment. Begin with ceilings, working in right angles to joists. Use guide marks for accurate screw placement.
5.1. Attaching Drywall to Framing: Screws, Spacing, and Alignment
Attach drywall to framing using bugle head screws, spaced 12-16 inches apart. Ensure proper alignment with studs and use GridMarX guide marks for accurate placement. Start with ceilings, installing at right angles to joists, and proceed to walls, securing edges firmly to prevent gaps or misalignment. This ensures a stable and even surface for finishing.
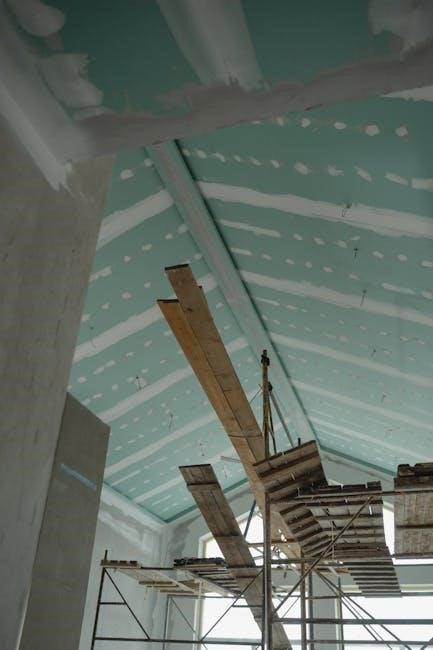
5.2. Installing Drywall on Ceilings and Walls
Begin by installing drywall on ceilings, ensuring it aligns at right angles to joists. Secure with bugle head screws, spaced 12-16 inches apart. For walls, align sheets with studs, maintaining proper spacing and alignment. Edges must be tightly secured to framing to prevent gaps or misalignment, ensuring a smooth, even surface for finishing and taping later.
5.3. Using GridMarX Guide Marks for Accurate Screw Placement
GridMarX guide marks, printed on drywall surfaces, simplify installation by providing precise screw placement guidance. These marks help align screws evenly, spaced 12-16 inches apart, ensuring proper adhesion to studs. By following these guides, installers achieve consistent results, reduce errors, and save time, resulting in a professional finish with minimal effort and maximum accuracy.
Finishing and Taping Drywall
Finishing and taping drywall ensures a smooth, seamless surface. Apply tape to seams and edges, then cover with joint compound. Sand thoroughly for a polished finish.
6.1. Applying Tape and Joint Compound to Seams and Edges
Apply drywall tape firmly to all seams and edges, pressing it into the joint compound to ensure proper adhesion. Use a utility knife to remove excess compound from edges. Feather the compound outward for a smooth transition. Allow the compound to dry completely before sanding for a seamless finish. Repeat if necessary for full coverage.
6.2. Sanding and Smoothing Out the Surface
Use a sanding block with medium-grit sandpaper to smooth drywall surfaces, feathering edges for a seamless blend. Sand in circular motions, focusing on high spots and ridges. Vacuum dust regularly to ensure even results. Inspect for imperfections and reapply joint compound if needed. Lightly sand again before painting for a professional finish. Proper sanding ensures a smooth, even surface.
Moldings and Reveals
Moldings and reveals enhance aesthetics by adding decorative edges and transitions. They create clean finishes and define architectural elements, ensuring a polished look in any space.
7.1. Installing Chair Rail and Other Moldings
Chair rail and moldings are installed to define transitions between walls and ceilings or to add decorative elements. Measure and mark the wall for the molding, ensuring alignment with studs. Secure the molding using screws or nails, pre-drilling holes to avoid splitting. Chair rail is often used to protect walls from damage and enhance the room’s aesthetic appeal.
7.2. Snap-In Reveals for a Clean Finish
Snap-In Reveals provide a clean, professional finish by concealing edges and transitions. They are installed along drywall edges or corners, ensuring a flush fit. These reveals eliminate the need for taping and mudding, saving time and effort. They are versatile and can be used along baseboards, ceilings, or around openings for a polished look.
Floating Walls and Architectural Details
Floating walls enhance soundproofing and aesthetics. They are framed separately from adjacent structures, often for noise reduction. Architectural details like columns and arches add visual interest, transforming spaces with modern design elements while maintaining functionality;
8.1. Framing Floating Basement Walls
Floating basement walls are framed separately from adjacent structures to enhance soundproofing and reduce vibrations. Use pressure-treated lumber for the base plate to prevent moisture damage. Anchor the wall to the concrete floor with anchor bolts, ensuring proper alignment. Install studs and joists 16 inches on center, then attach drywall with bugle head screws. Seal gaps with acoustic sealant for optimal sound isolation.
8.2. Adding Architectural Elements Like Columns and Arches
Architectural elements such as columns and arches enhance the aesthetic appeal of a space. Use drywall to create smooth, rounded arches or decorative columns by shaping and fitting sheets precisely. Secure them with screws and joint compound, ensuring seamless integration with surrounding walls. Finish with paint or moldings for a polished, professional look that elevates the room’s design and functionality.
Safety Tips and Best Practices
Ensure studs are straight for proper installation. Wear protective gear like goggles and gloves. Maintain proper ventilation to avoid dust inhalation. Handle tools and materials carefully to prevent injuries and ensure a stable installation environment.
9.1. Ensuring Studs Are Straight for Proper Installation
Ensuring studs are straight is crucial for proper drywall installation. Use a T-square or carpenter’s square to verify alignment. Crooked studs can lead to uneven surfaces and installation issues. Check each stud carefully and correct any framing irregularities before attaching drywall. Proper alignment ensures stability and prevents future cracks or damage. This step is vital for a smooth, professional finish.
9.2. Preventing Common Mistakes in Drywall Installation
Preventing common mistakes in drywall installation requires careful planning and attention to detail. Measure walls accurately to avoid mismatched cuts. Use the right tools, like a utility knife or drywall saw, for precise cuts. Ensure screws are spaced correctly (12-16 inches apart) to prevent sagging. Align sheets properly to avoid uneven surfaces. Address framing irregularities before installation to achieve a smooth finish.
Estimating Drywall Costs
Estimating drywall costs involves calculating materials, labor, and tools. Measure square footage, determine sheet requirements, and consider local prices to create an accurate budget plan.
10.1. Factors Affecting Drywall Installation Costs
Drywall installation costs are influenced by materials, labor, and location. Material prices vary based on sheet size, thickness, and type; Labor costs depend on installer expertise and regional rates. Additional factors include transportation, tools, and permits. Calculating square footage and accounting for waste ensures accurate estimates. Local market conditions and supplier pricing also impact the final cost.
10.2. Creating a Drywall Estimate Example Template
A drywall estimate template should include sections for materials, labor, and total costs. List quantities of drywall sheets, screws, tape, and compound. Calculate costs based on supplier prices and labor rates. Include measurements, square footage, and waste calculations. Add sections for taxes and additional fees. Use clear formatting for easy understanding and professional presentation to clients or contractors.
Common Challenges and Solutions
Addressing uneven surfaces and framing issues is crucial for a smooth installation. Ensure studs are straight and properly aligned to prevent installation errors and achieve a seamless finish.
11.1. Dealing with Uneven Surfaces and Framing Issues
Uneven surfaces and framing issues can disrupt drywall installation. Ensure studs are straight and properly aligned before attaching drywall. Use shims or adjust framing to level surfaces. Measure carefully to avoid misalignment. Addressing these issues early prevents costly repairs and ensures a smooth, professional finish. Proper alignment is key to achieving seamless walls and ceilings.
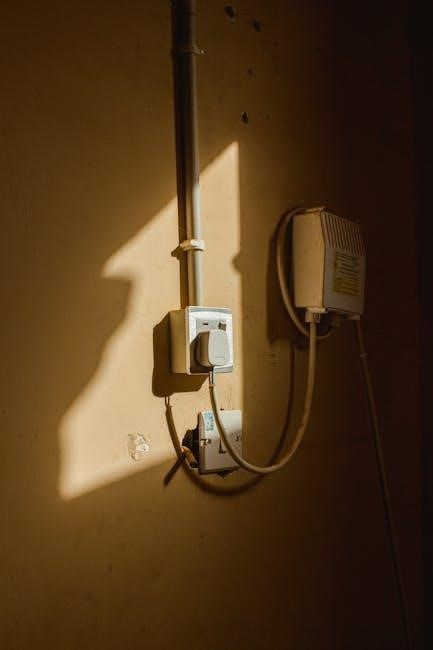
11.2. Repairing Damaged Drywall and Avoiding Air Leaks
Damaged drywall can be repaired using a drywall repair kit or joint compound. Sand damaged areas smooth, apply compound, and let dry. For air leaks, ensure seams are tightly sealed with tape and mud. Use spray foam around electrical outlets to prevent gaps; Proper taping and mudding are essential to avoid air leaks and maintain energy efficiency and soundproofing.
Final Inspection and Touch-Ups
Inspect drywall for cracks or seams; Apply additional joint compound where needed. Sand surfaces until smooth. Paint to achieve a flawless finish.
12.1. Inspecting the Drywall for Flaws and Imperfections
Inspect the drywall surface for cracks, uneven seams, or indentations. Use a straightedge to check for alignment issues. Look for bubbles or loose tape. Shine a light at an angle to spot imperfections easily. Ensure all edges are smooth and properly sealed. Check for screws that are over-tightened or recessed unevenly. Address any flaws before applying paint for a professional finish.
12.2. Applying Final Coats of Joint Compound and Paint
After inspecting, apply a thin final coat of joint compound to seams and edges. Allow it to dry completely, then lightly sand for a smooth finish. Wipe away dust with a damp cloth. Prime the surface if necessary, then apply high-quality paint. Ensure even coverage and proper drying time between coats for a professional, flawless finish.