
3d cutting board plans pdf
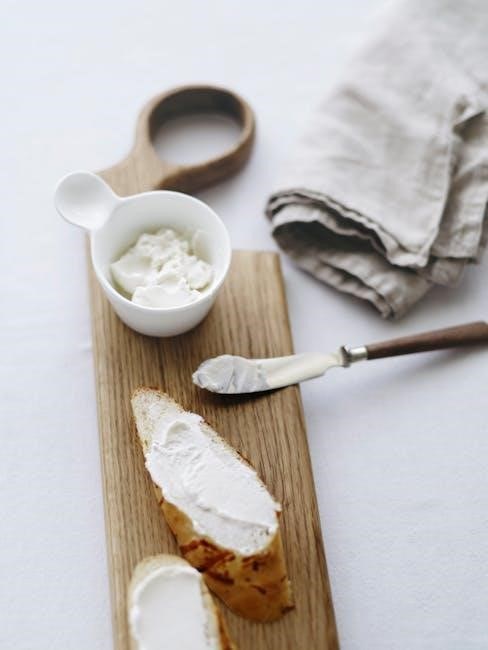
3D cutting boards are innovative kitchen tools that combine functionality with artistic design. Available as free PDF plans, these designs offer detailed instructions for crafting unique patterns like end grain and basket weave. Perfect for woodworking enthusiasts, they enhance durability and aesthetic appeal, making them a standout project for any skill level.
1.1 What Are 3D Cutting Boards?
3D cutting boards are intricate, multi-layered kitchen tools crafted from wood, designed to offer both functionality and visual appeal. Unlike traditional flat cutting boards, these designs feature a three-dimensional aesthetic, often achieved through layered wood construction. The term “3D” refers to the board’s depth and texture, created by arranging wood pieces in unique patterns such as end grain, basket weave, or checkerboard designs. These boards are not only durable but also serve as decorative pieces in modern kitchens. The layered construction enhances the wood’s natural beauty, making each board a standout item. Woodworking enthusiasts often create these boards using detailed plans, many of which are available as free PDF downloads. The process involves precise cutting, alignment, and gluing of wood strips to achieve the desired 3D effect. Popular wood types like maple, walnut, and cherry are commonly used for their strength and attractive grain patterns. 3D cutting boards are a perfect project for those looking to combine creativity with practicality, resulting in a functional and visually stunning kitchen accessory.
1.2 Benefits of Using 3D Cutting Boards
3D cutting boards offer a multitude of benefits that make them a valuable addition to any kitchen. Their unique, multi-layered design enhances durability, as the interlocking wood pieces distribute pressure evenly, reducing wear and tear. This construction also minimizes the risk of warping, ensuring a stable cutting surface. Aesthetically, 3D cutting boards add a touch of sophistication to kitchen decor, with their intricate patterns and natural wood grain creating a visually appealing centerpiece. Additionally, the layered design allows for easier cleaning, as food particles are less likely to become trapped compared to traditional flat boards. The artistic element of these boards can also inspire creativity in cooking and meal preparation. Furthermore, the process of crafting a 3D cutting board, often using free PDF plans, can be a rewarding DIY project for woodworking enthusiasts. The combination of functionality, durability, and visual appeal makes 3D cutting boards a practical and stylish choice for home cooks and professional chefs alike. Their unique design not only enhances kitchen efficiency but also serves as a testament to craftsmanship and attention to detail.
Popular Design Patterns
3D cutting boards feature various design patterns, including end grain, basket weave, and checkerboard. These patterns enhance both functionality and visual appeal, making them popular among woodworking enthusiasts. Free PDF plans are widely available, offering detailed instructions for each design.
2.1 End Grain Cutting Board Design
The end grain cutting board design is a popular choice for 3D cutting boards, offering both durability and aesthetic appeal. This design involves arranging small wood blocks in a specific pattern, with the wood grain facing upwards, creating a unique 3D effect. The end grain construction is prized for its resistance to knife marks and its self-healing properties, making it ideal for heavy-duty use. The 3D aspect is achieved by carefully aligning the blocks to create a visually striking surface. Free PDF plans for this design are widely available, providing detailed instructions for woodworking enthusiasts. The end grain design is particularly favored for its ability to showcase the natural beauty of the wood, with the grain pattern creating a vibrant and intricate appearance. While the construction process can be challenging, the result is a cutting board that is both functional and visually impressive. This design is a great project for those looking to combine traditional woodworking techniques with modern design elements.
2.2 Basket Weave Pattern
The basket weave pattern is a timeless and visually appealing design for 3D cutting boards, offering a classic yet modern aesthetic. This pattern involves arranging wood strips in an alternating crisscross manner, creating a woven appearance that adds depth and texture to the cutting board. The 3D effect is enhanced by the careful alignment of the wood strips, which creates a sense of movement and dimensionality. Free PDF plans for the basket weave pattern are widely available, providing detailed instructions for achieving this intricate design. The pattern is particularly popular among woodworking enthusiasts due to its balance of simplicity and visual impact.
The basket weave design is not only visually striking but also durable, as the alternating strips of wood create a sturdy and long-lasting surface. The process of creating this pattern involves precise cutting and alignment, making it a rewarding project for those with intermediate woodworking skills. The use of contrasting wood types can further enhance the design, adding a pop of color and texture. With the right tools and materials, the basket weave pattern can be customized to suit various kitchen styles, making it a versatile choice for 3D cutting boards.

Overall, the basket weave pattern is a fantastic option for those looking to create a unique and functional cutting board. Its classic design and 3D elements make it a standout piece in any kitchen, while the availability of free PDF plans ensures that it is accessible to woodworkers of all levels.
2.3 Checkerboard and Other Geometric Patterns
Checkerboard and other geometric patterns are popular choices for 3D cutting boards, offering a modern and visually striking design. The checkerboard pattern, in particular, involves alternating squares of contrasting wood colors, creating a classic and timeless look. These patterns are not only aesthetically pleasing but also add functionality to the cutting board. Free PDF plans for geometric designs are widely available, providing detailed instructions for achieving these intricate layouts.
Geometric patterns, such as chevrons, herringbone, and hexagons, allow for endless creativity and customization. Woodworkers can experiment with different wood species and stains to enhance the visual appeal of these designs. The checkerboard pattern is especially versatile, as it can be adapted to various sizes and wood combinations, making it suitable for both traditional and contemporary kitchens. The 3D effect in these patterns is achieved through precise alignment and layering of wood strips, creating a dynamic and engaging surface.
These designs are not only visually appealing but also durable, as the interlocking wood pieces create a sturdy and long-lasting cutting surface. With the right tools and materials, anyone can bring these geometric patterns to life. Free PDF plans provide step-by-step guidance, making it easier for woodworking enthusiasts to create professional-quality cutting boards with a unique and modern flair.
Materials and Tools Required
Creating a 3D cutting board requires high-quality hardwoods like maple or walnut, along with essential tools such as a table saw, sanders, and clamps. Free PDF plans often include detailed lists of materials and tools, ensuring a smooth and successful project execution for woodworkers of all skill levels.
3.1 Types of Wood Suitable for Cutting Boards
Selecting the right wood is crucial for creating a durable and functional 3D cutting board. Hardwoods like maple, walnut, and cherry are popular choices due to their density and resistance to scratches. Maple is prized for its light color and fine grain, while walnut offers a rich, dark aesthetic. Cherry wood is versatile, combining strength with a beautiful reddish hue that deepens over time. Teak is another excellent option, known for its natural oil content, which provides resistance to moisture and bacteria. These woods are non-toxic and ideal for food preparation. When using free PDF plans, ensure the wood is properly dried to prevent warping. Avoid softwoods like pine, as they are too soft and may harbor bacteria. Proper wood selection ensures your 3D cutting board is both functional and visually appealing, making it a standout piece in any kitchen.
3.2 Essential Tools for the Project

Creating a 3D cutting board requires a well-equipped workshop and the right tools. A table saw or miter saw is essential for precise cuts, while a drill press ensures accurate hole drilling for dowels or other fasteners. Sanding is critical, so a belt sander or orbital sander is necessary for smoothing surfaces. Clamps, such as bar clamps or C-clamps, are vital for holding the wood in place during gluing and assembly. A router can be used to create decorative edges or profiles, adding a professional finish. Safety gear, including safety glasses and a dust mask, is a must to protect against debris and wood particles. For intricate designs, a jigsaw or bandsaw may be needed for curved cuts. A tape measure, square, and pencils are basic but indispensable for accurate measurements and markings. Optional tools like a planer can help achieve uniform thickness in the wood. Proper tool selection ensures precision and safety, making the project enjoyable and successful. Always refer to your 3D cutting board plans PDF for specific tool recommendations tailored to your design.
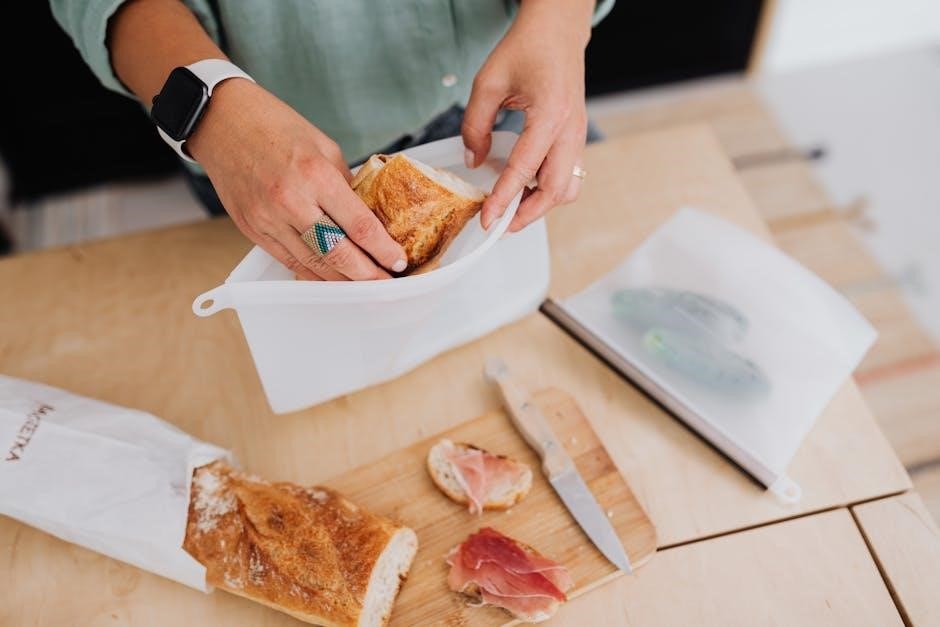
Step-by-Step Construction Guide
Begin with detailed 3D cutting board plans PDF for precise measurements and layouts. Prepare wood by cutting it to size using a table saw or miter saw. Assemble the design using panel glue and clamps, ensuring alignment. Sand thoroughly for a smooth finish, then apply food-safe oil or wax to protect the wood and enhance its appearance.
4.1 Preparing the Wood
Preparing the wood is the first critical step in creating a 3D cutting board. Start by selecting high-quality hardwoods like maple, walnut, or cherry, as they are durable and resistant to wear. Cut the wood into smaller, manageable pieces according to the dimensions specified in your 3D cutting board plans PDF. Use a table saw or miter saw for precise cuts, ensuring accuracy for the design pattern.
Next, sand each piece thoroughly to remove any imperfections or splinters. Begin with coarse-grit sandpaper (80-100 grit) and progress to finer grits (120-150) for a smooth finish. This step is essential for ensuring the wood is even and ready for assembly. Additionally, inspect the wood for any knots or defects and remove them to prevent weaknesses in the final product.
Once the wood is cut and sanded, arrange the pieces according to your design pattern. Use clamps to hold the pieces in place temporarily, ensuring proper alignment. Allow the wood to acclimate to the workshop environment for a few hours to minimize warping during assembly. Proper preparation ensures a sturdy and visually appealing foundation for your 3D cutting board.
4;2 Assembling the Design
Assembling the design is where your 3D cutting board begins to take shape. Start by laying out the pre-cut wood pieces according to your plan. Use a workboard or flat surface to ensure even alignment. Apply wood glue to the mating surfaces, carefully following the pattern specified in your 3D cutting board plans PDF. Use clamps to secure the pieces, starting from the center and working outward to avoid air pockets.
For intricate designs like end grain or basket weave patterns, use cauls or pressure boards to apply even pressure and prevent warping. Allow the glue to cure overnight or as recommended by the manufacturer. Once set, use a scraper or chisel to remove excess glue from the joints. Inspect the assembly for proper alignment and sand any uneven areas before proceeding.
If your design includes multiple layers, repeat the process, ensuring each layer aligns perfectly with the one below. Use a square to check the corners and edges for accuracy. Proper assembly is crucial for both the functionality and aesthetic appeal of the cutting board. Follow the instructions in your 3D cutting board plans PDF closely to achieve a professional finish.
4.3 Sanding and Finishing
Sanding and finishing are critical steps in creating a professional-grade 3D cutting board. Begin by sanding the entire surface with progressively finer grits of sandpaper, starting at 80-100 grit and moving up to 220 grit. Pay special attention to the edges and joints, ensuring they are smooth and even. Use a sanding block for flat areas and a handheld sander for intricate designs.

Once sanded, inspect the board for any imperfections or glue residue. Address these areas with a scraper or fine-grit sandpaper. For a polished finish, apply a food-safe wood oil or wax, such as mineral oil or beeswax, using a clean cloth. Allow the finish to dry according to the product instructions before applying a second coat. Avoid using polyurethane or other non-food-safe sealants.
Finally, buff the board with a clean, dry cloth to remove excess oil and create a lustrous finish. Proper sanding and finishing not only enhance the board’s appearance but also protect the wood from moisture and wear. Follow the guidelines in your 3D cutting board plans PDF for specific finishing recommendations tailored to your design. A well-finished cutting board is both durable and visually stunning, making it a standout addition to any kitchen.
Safety Tips and Precautions
Always wear safety glasses and a dust mask when working with power tools. Keep loose clothing tied back and long hair secured. Handle sharp tools and equipment with care, ensuring proper grip and control. Maintain a clean, well-ventilated workspace to avoid accidents and inhaling dust or fumes.

5.1 Safety Measures While Working with Power Tools
When working with power tools to create a 3D cutting board, safety is paramount. Always wear protective gear, including safety glasses, a dust mask, and hearing protection. Ensure loose clothing and long hair are secured to avoid entanglement with tools. Maintain a firm grip on tools and keep fingers away from blades or cutting edges. Regularly inspect tools for damage or wear and tear, as malfunctioning equipment can cause accidents. Keep the workspace well-lit and clear of clutter to prevent tripping hazards. Avoid overreaching or stretching while operating tools, as this can lead to loss of control. Never leave running tools unattended, and always follow the manufacturer’s instructions for proper usage. Additionally, ensure proper ventilation to avoid inhaling sawdust or fumes. If you’re new to power tools, consider practicing on scrap wood before working on your cutting board project. Finally, keep a first aid kit nearby and have an emergency plan in place in case of accidents.
5.2 Handling Wood Safely
Handling wood safely is crucial when working on a 3D cutting board project. Always lift wood properly to avoid straining your back, bending at the knees and keeping the load close to your body. Store wood in a dry, well-ventilated area to prevent warping or moisture damage. When cutting or sanding, use push sticks or other safety devices to maintain control and keep your hands away from blades. Inspect wood for nails, screws, or other metal objects before cutting to avoid tool damage or injury. Never handle wood carelessly, as splinters or sharp edges can cause cuts. Wear gloves when handling rough or untreated wood to protect your skin. Keep your workspace clean and free of sawdust to reduce slipping hazards. When sanding, work in a well-ventilated area to avoid inhaling dust. Avoid using pressure-treated wood for cutting boards, as it contains chemicals harmful to food. Always follow proper techniques for cutting and shaping wood to maintain precision and safety. By adhering to these guidelines, you can ensure a safe and successful woodworking experience while creating your 3D cutting board.

Maintenance and Care Tips
Regular maintenance ensures your 3D cutting board remains durable and food-safe. Clean thoroughly after use, sanitize with mild soap and water, and dry completely. Condition the wood periodically with food-safe oils to prevent cracking. Avoid harsh chemicals and extreme temperatures to maintain its quality and appearance.
6.1 Cleaning and Sanitizing
Cleaning and sanitizing your 3D cutting board are essential to maintain hygiene and prevent bacterial growth. Start by scraping off any food residue with a soft spatula or the back of a knife. Wash the board with mild soap and warm water, ensuring all surfaces are thoroughly cleaned. Avoid using harsh chemicals or abrasive scrubbers, as they can damage the wood finish or strip away its natural oils.
For sanitizing, mix a solution of equal parts water and white vinegar. Apply the solution evenly across the board and let it sit for 5-10 minutes. This helps kill bacteria without harming the wood. After sanitizing, rinse the board with clean water and dry it completely with a clean towel. Standing the board upright allows air to circulate and prevents moisture from pooling, which can lead to warping or mold growth.
Never soak the cutting board in water or put it in the dishwasher, as this can cause cracking or separation of the wood layers. Regular cleaning and sanitizing will keep your 3D cutting board in excellent condition, ensuring it remains a safe and durable tool for food preparation.
6.2 Conditioning the Wood
Conditioning the wood is a crucial step in maintaining the longevity and performance of your 3D cutting board. Over time, the wood can dry out, leading to cracks or warping. To prevent this, apply a food-safe wood conditioner or oil, such as mineral oil or beeswax, to the entire surface of the board. These products penetrate the wood, replenishing its natural moisture barrier and protecting it from drying out.
Before conditioning, ensure the board is clean and dry. Using a clean cloth, evenly apply a thin, consistent layer of conditioner. Let it sit for about 30 minutes to an hour, allowing the wood to absorb the oil. Wipe off any excess with a clean cloth to avoid a greasy surface. Repeat this process every 1-3 months, depending on usage, to maintain the wood’s health and appearance.
Avoid using cooking oils, as they can become rancid and leave an unpleasant odor. Regular conditioning not only preserves the wood but also enhances the vibrant colors and patterns of your 3D cutting board, ensuring it remains a durable and attractive addition to your kitchen for years to come.